So I saw this review of the Pioneer SE-A1000 on Zeos Z Review YouTube channel and I was intrigued. I love to collect budget headphones with sound quality well above their value.
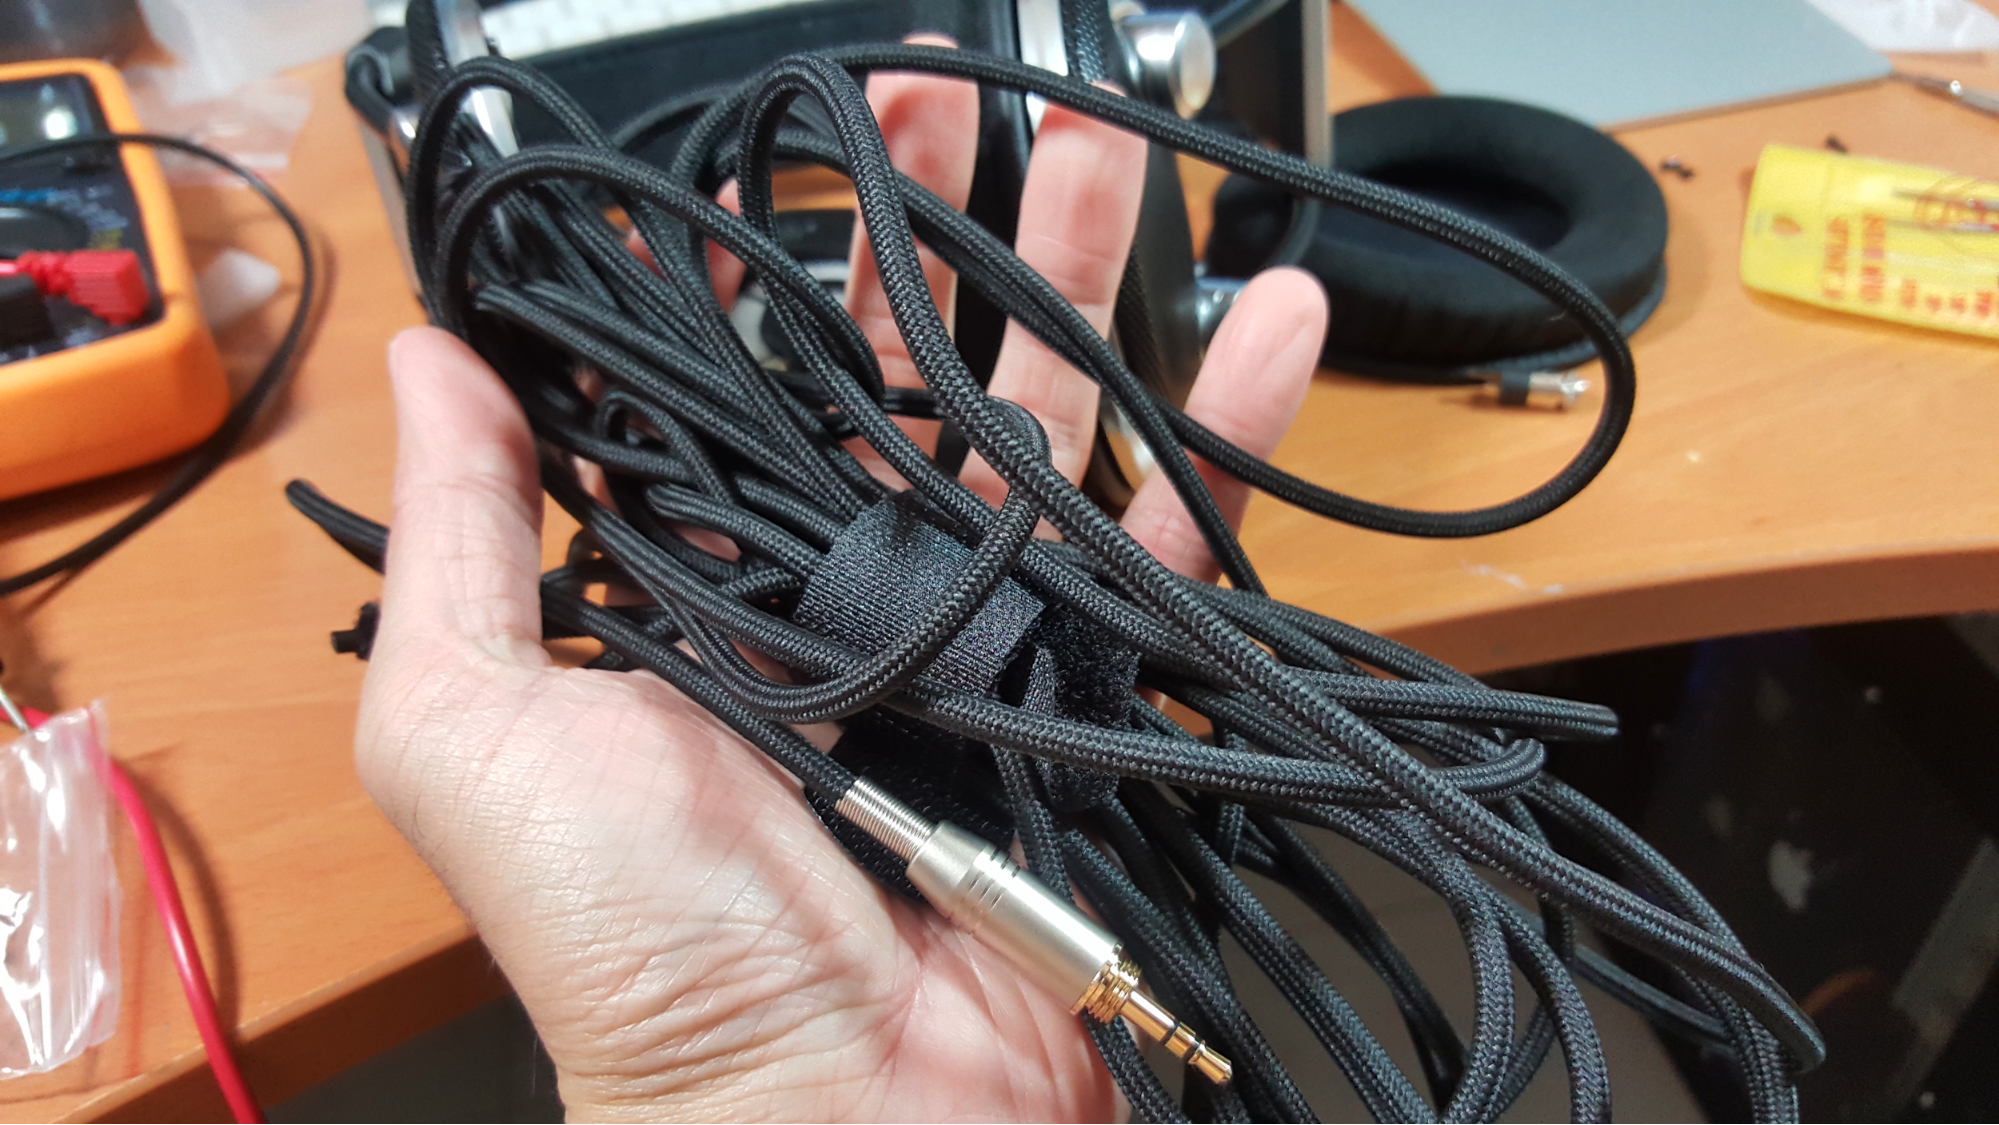
So my order of the SE-A1000 arrived from Amazon, and everything said during the review was spot on. It has warm tone, with that annoyingly long 6 meter cable that is fixed. And those uncomfortable earpads.
I happened to have some spare parts lying around, and decided to mod the cable. Below are the steps for the process, enjoy.
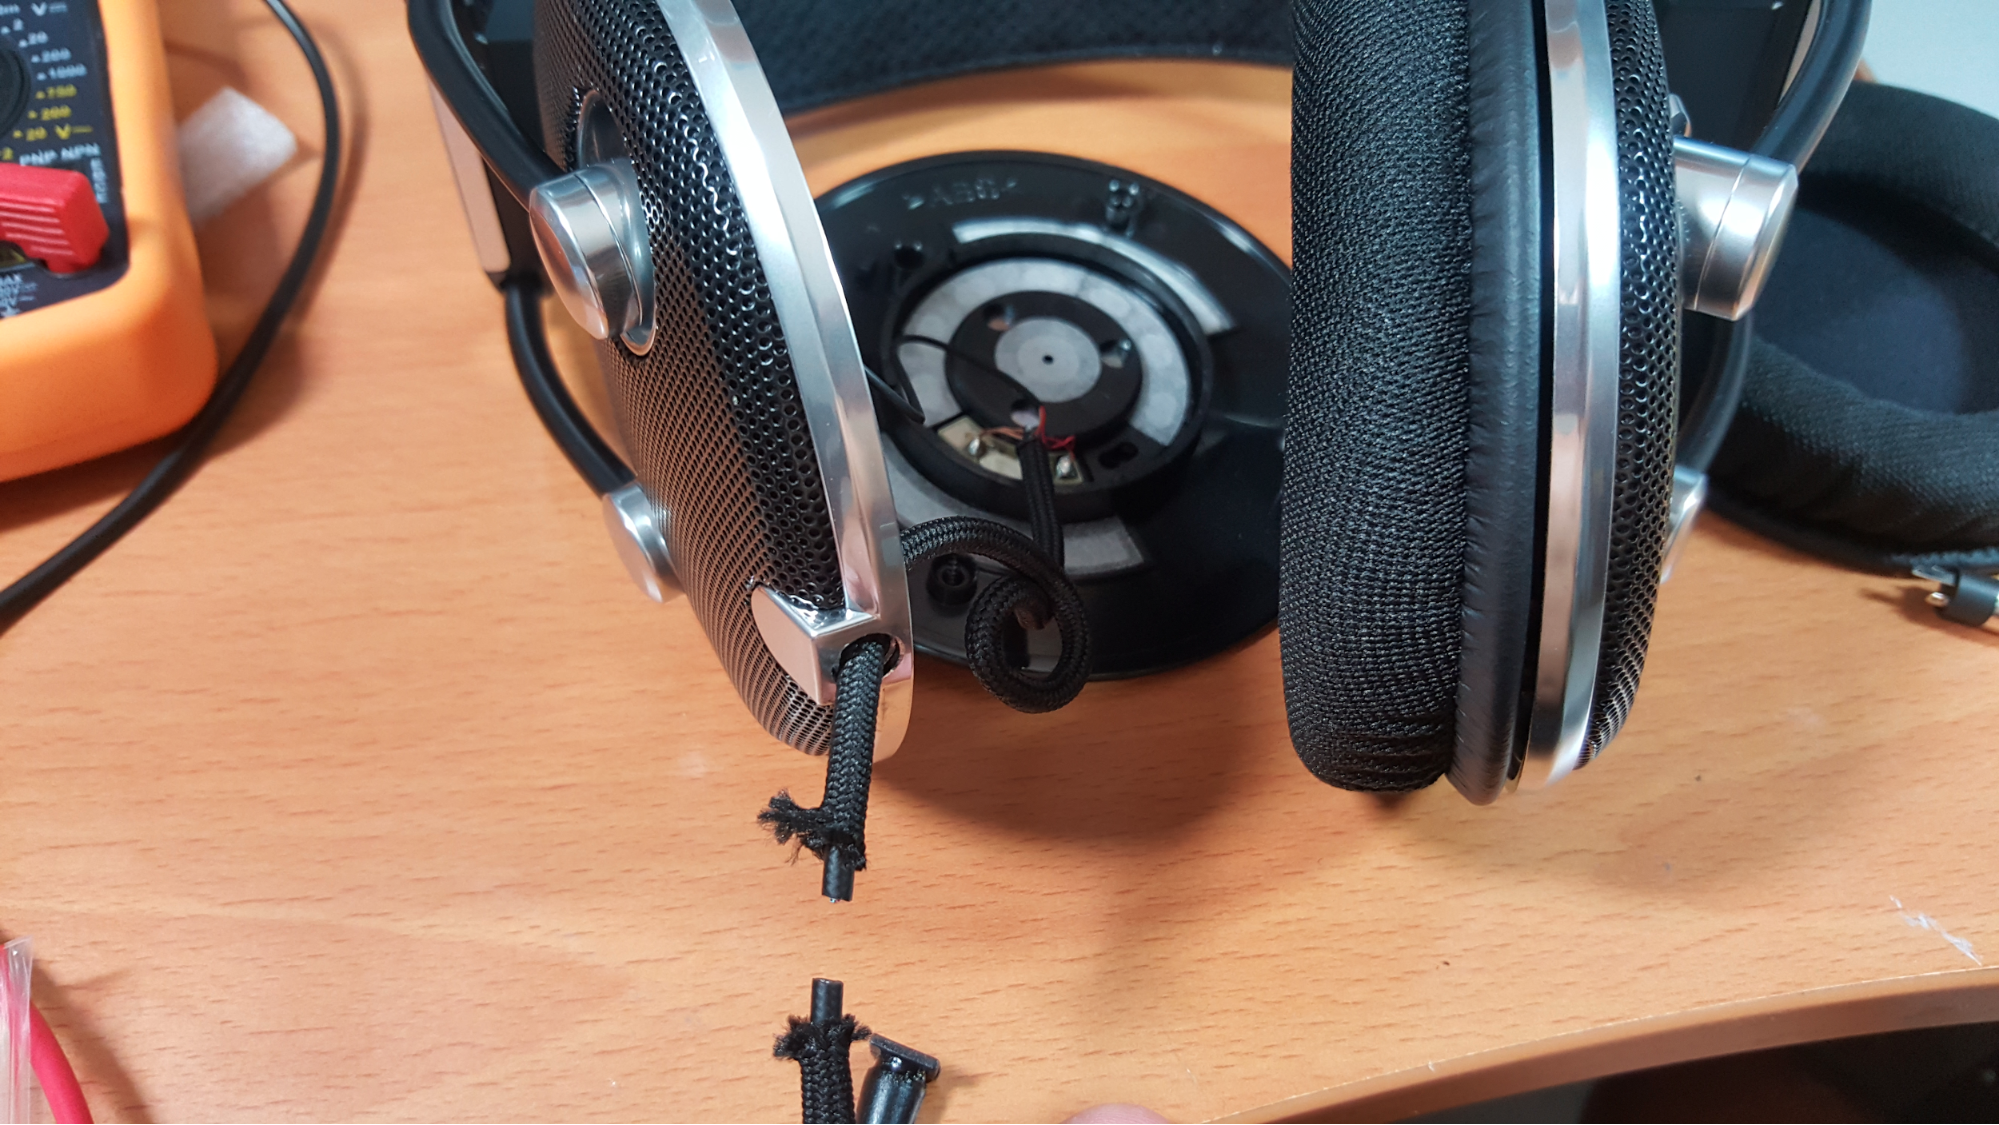
First, remove earpad and unscrew the baffle/driver. Snip the cable and remove the rubber “tail”. It has some gooey stuff clinging onto it, so it may take a bit of effort to get it out.
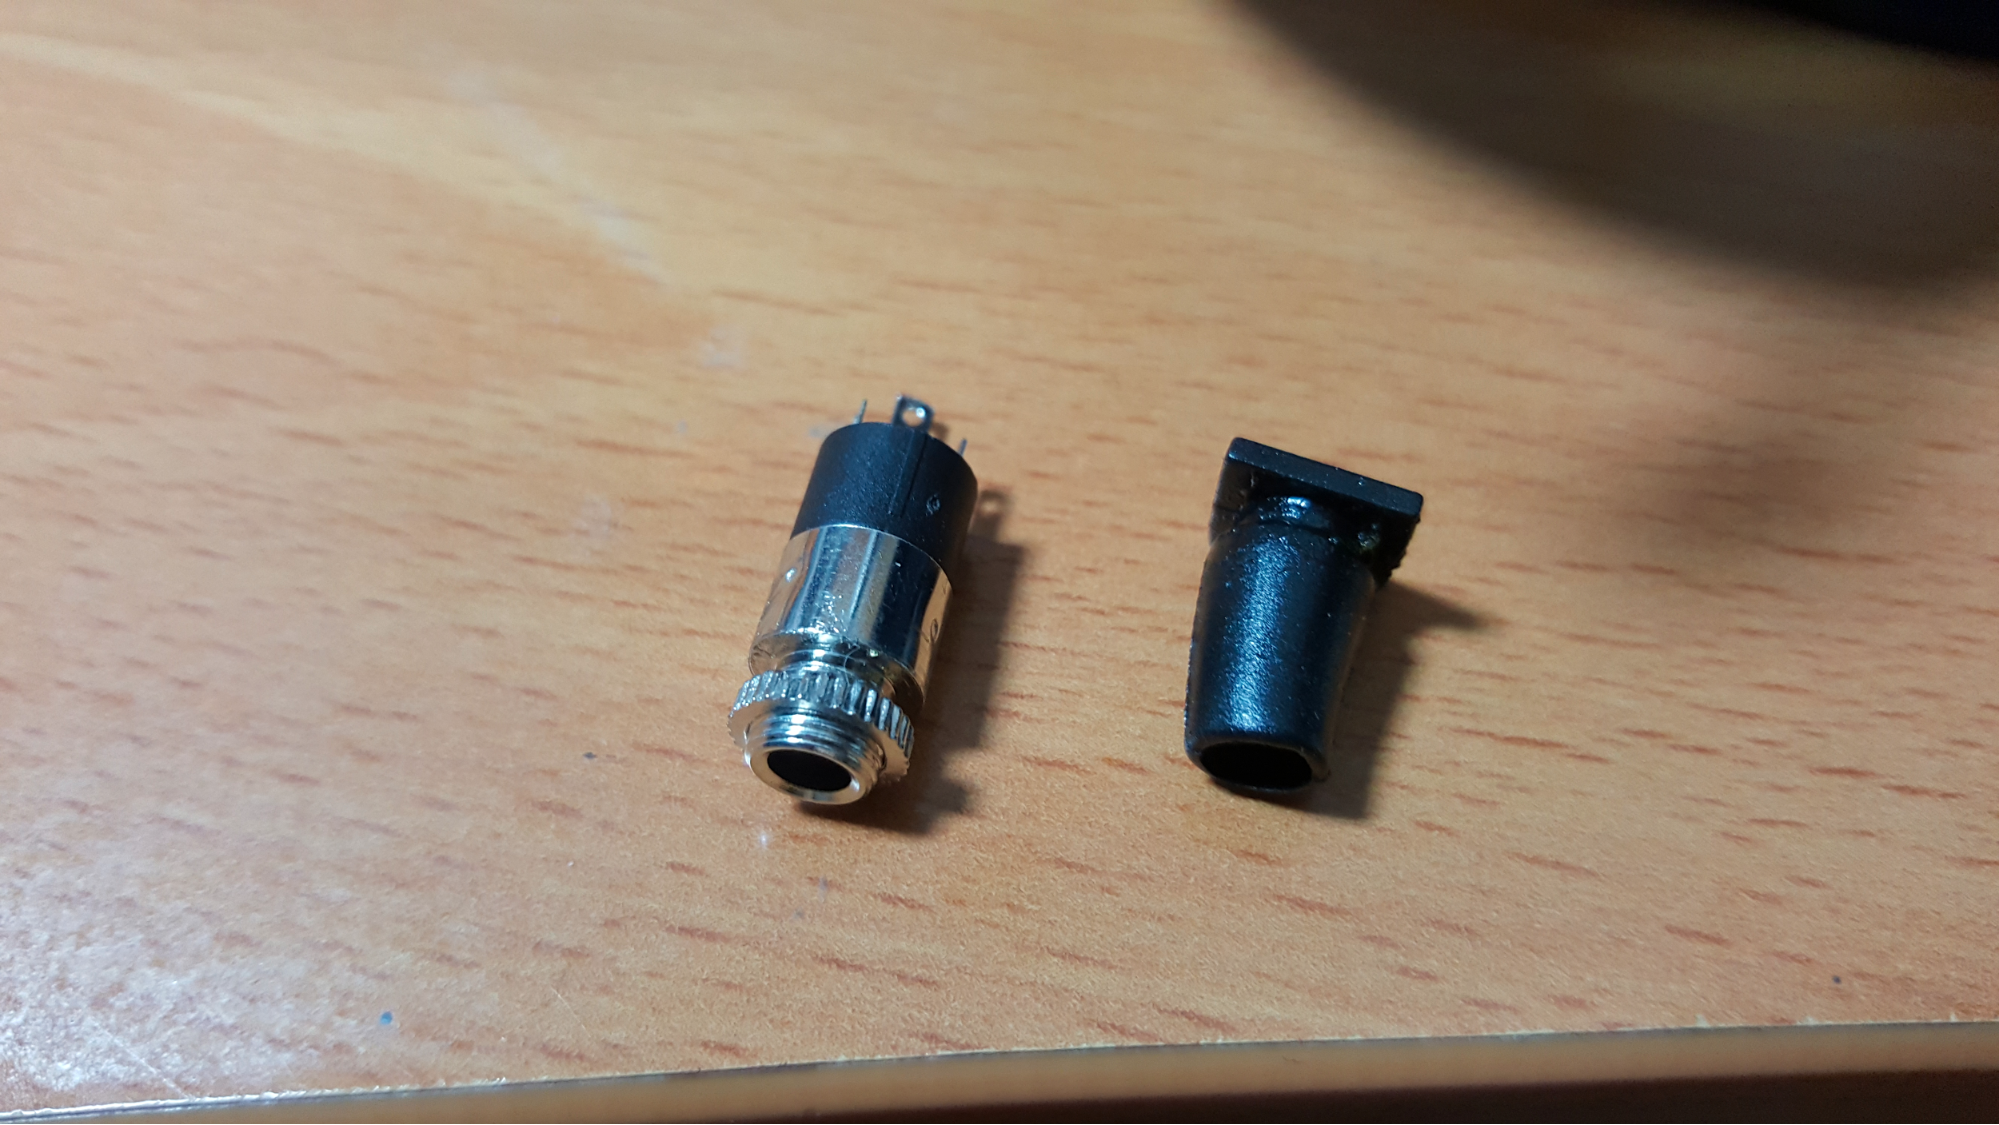
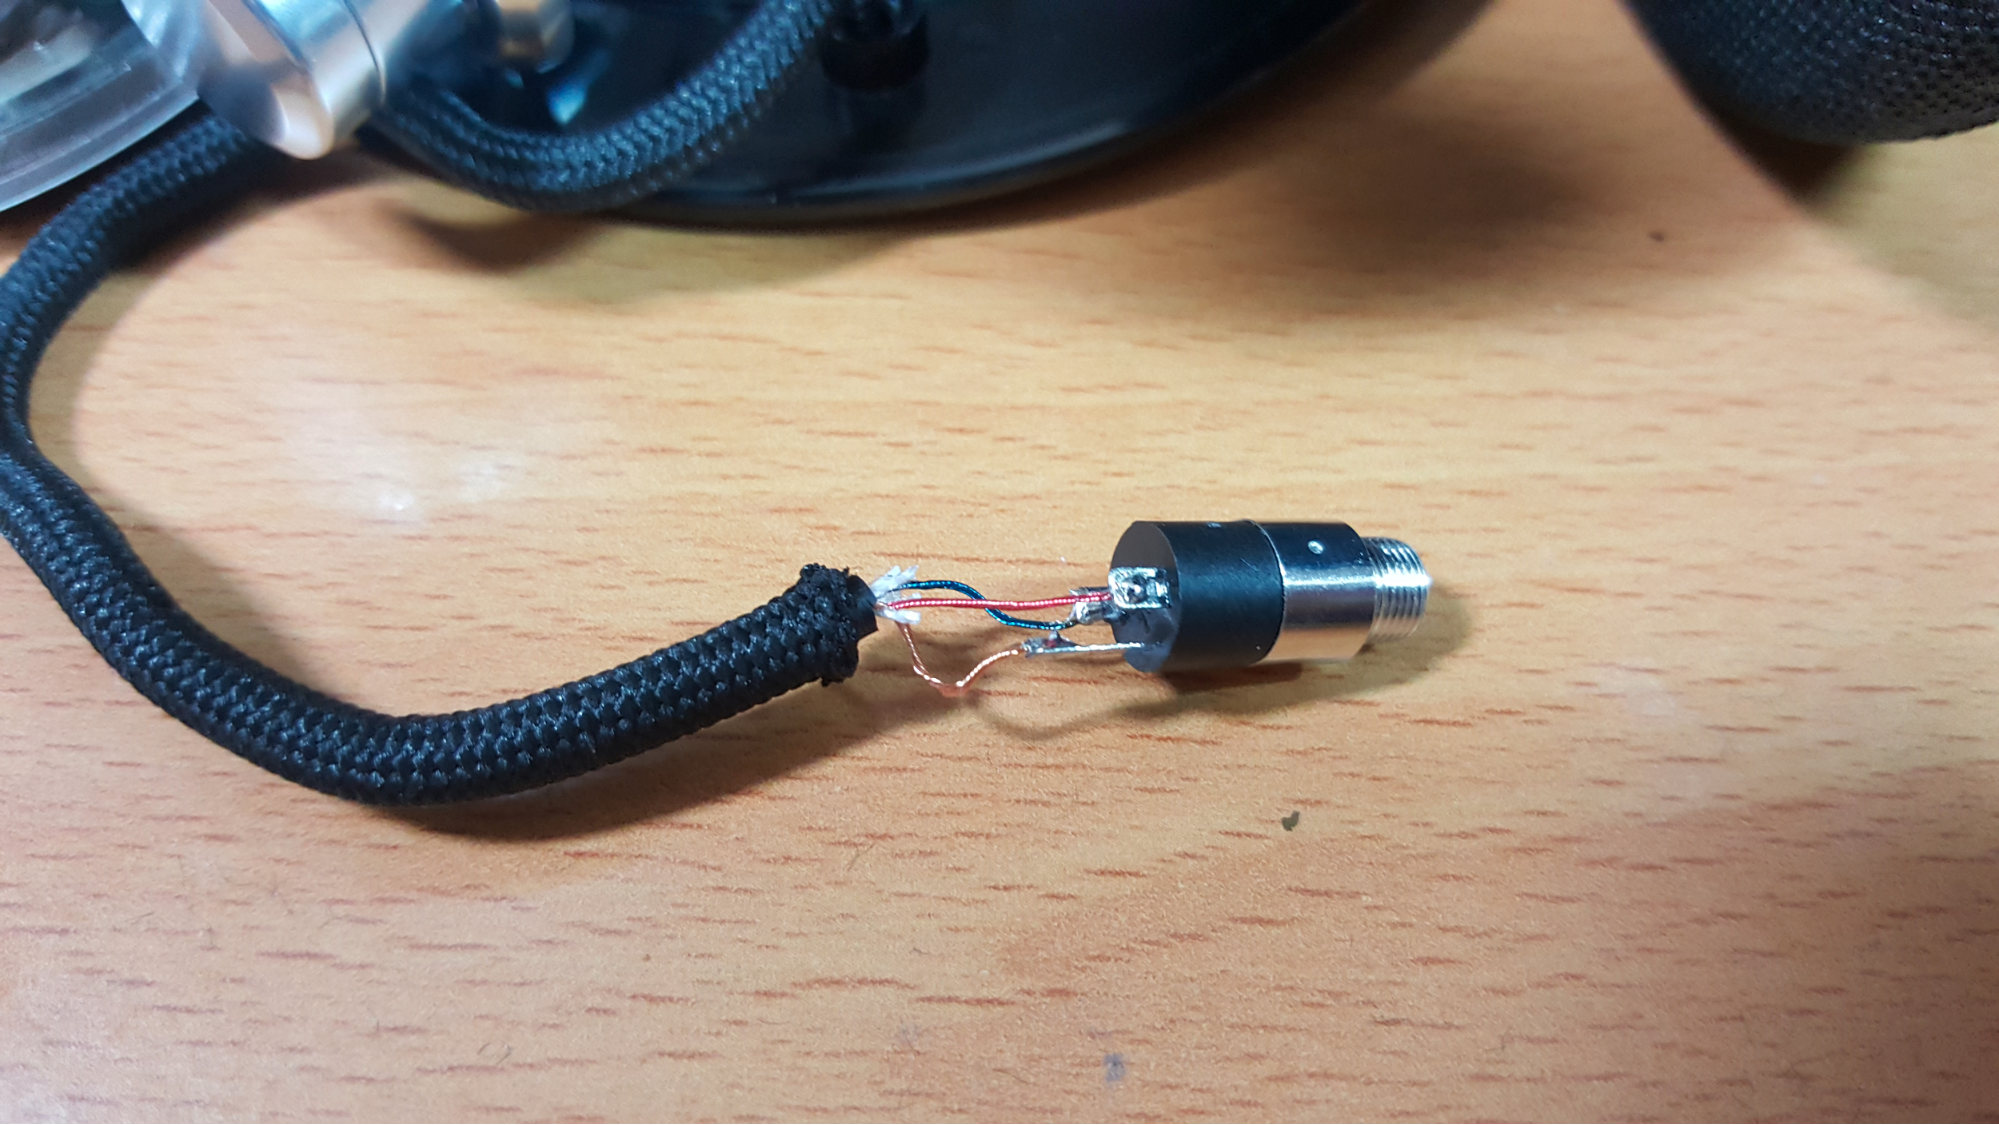
 Next step is to replace the rubber tail with a 3.5mm socket. Strip the cable and solder them onto the socket. Using a mulitmeter to test, I got Tip = Blue, Ring = Red, Sleeve = Copper.

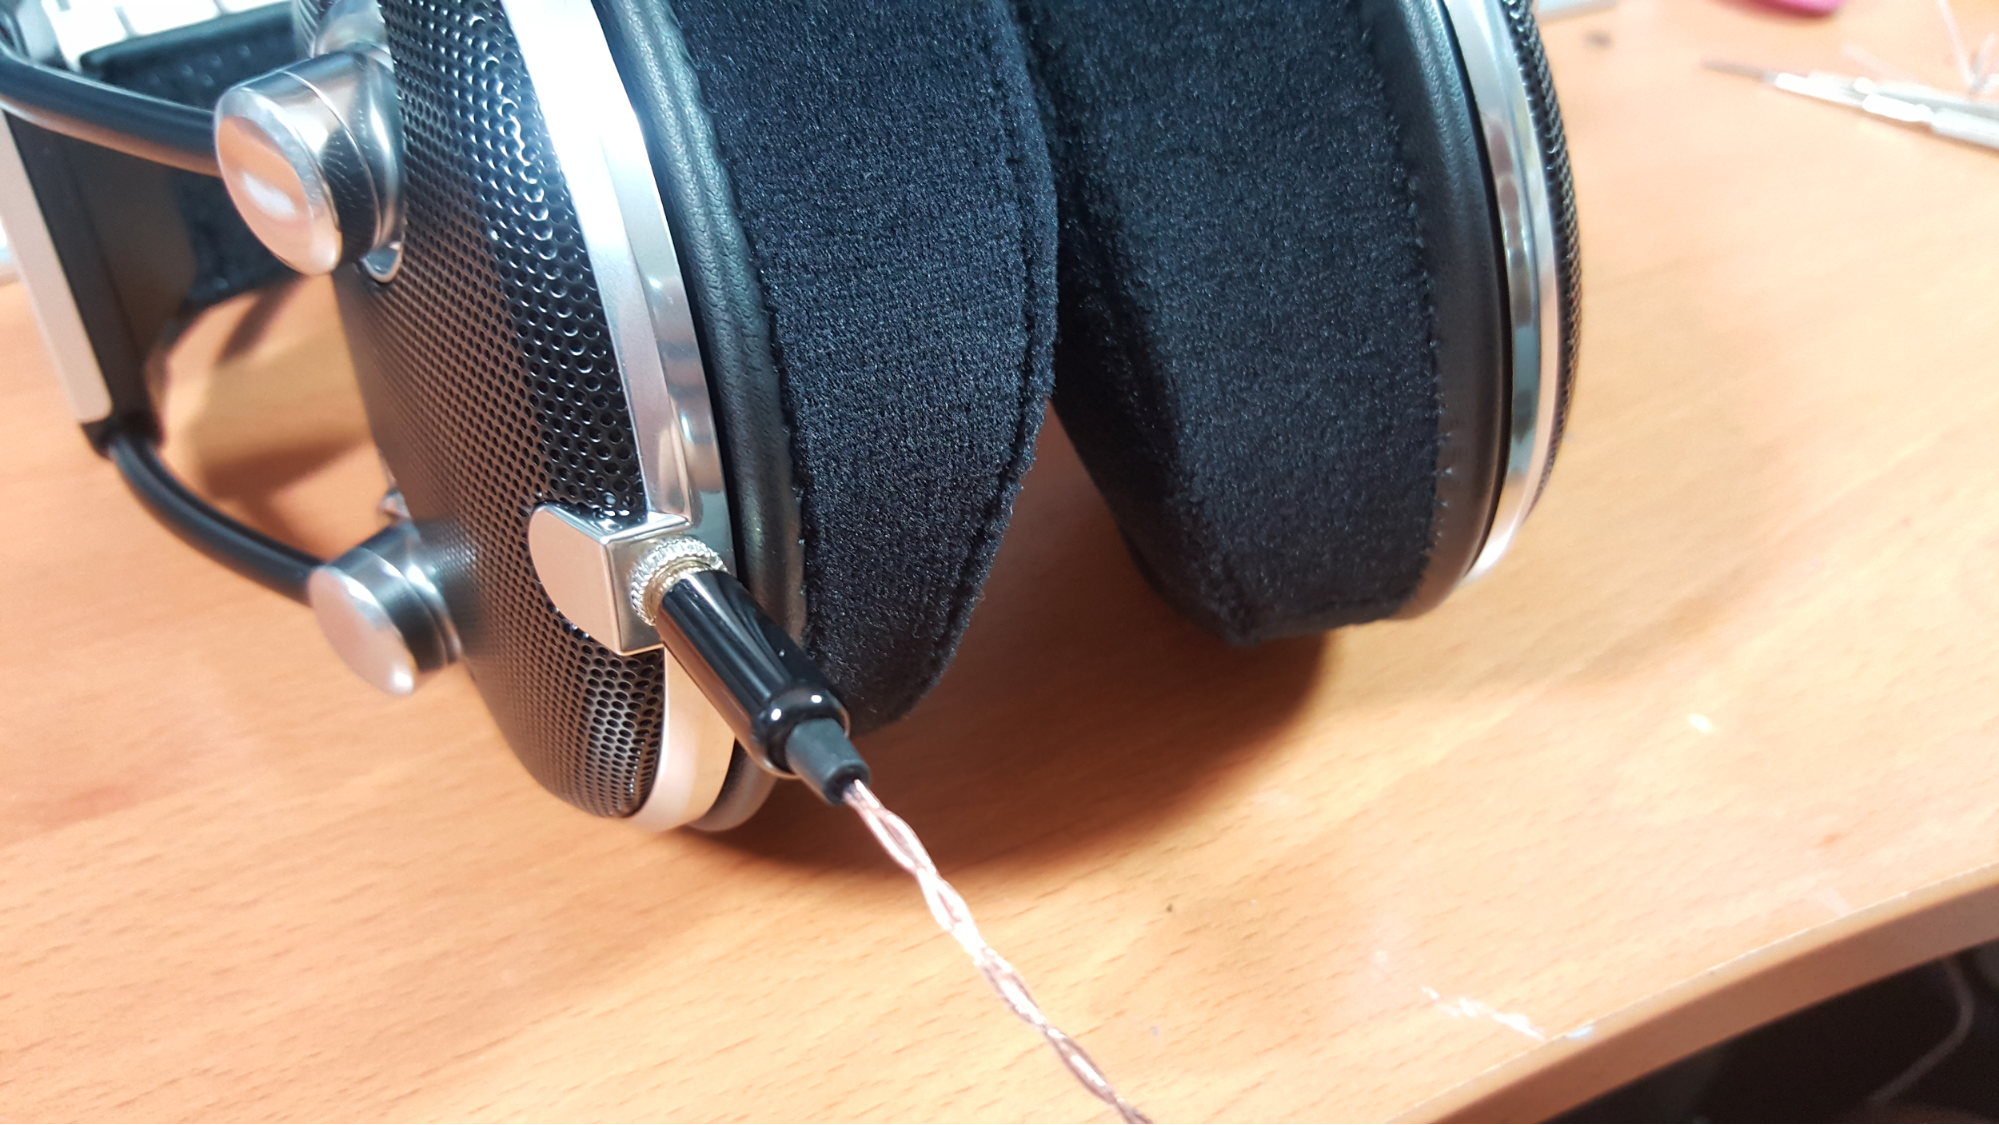
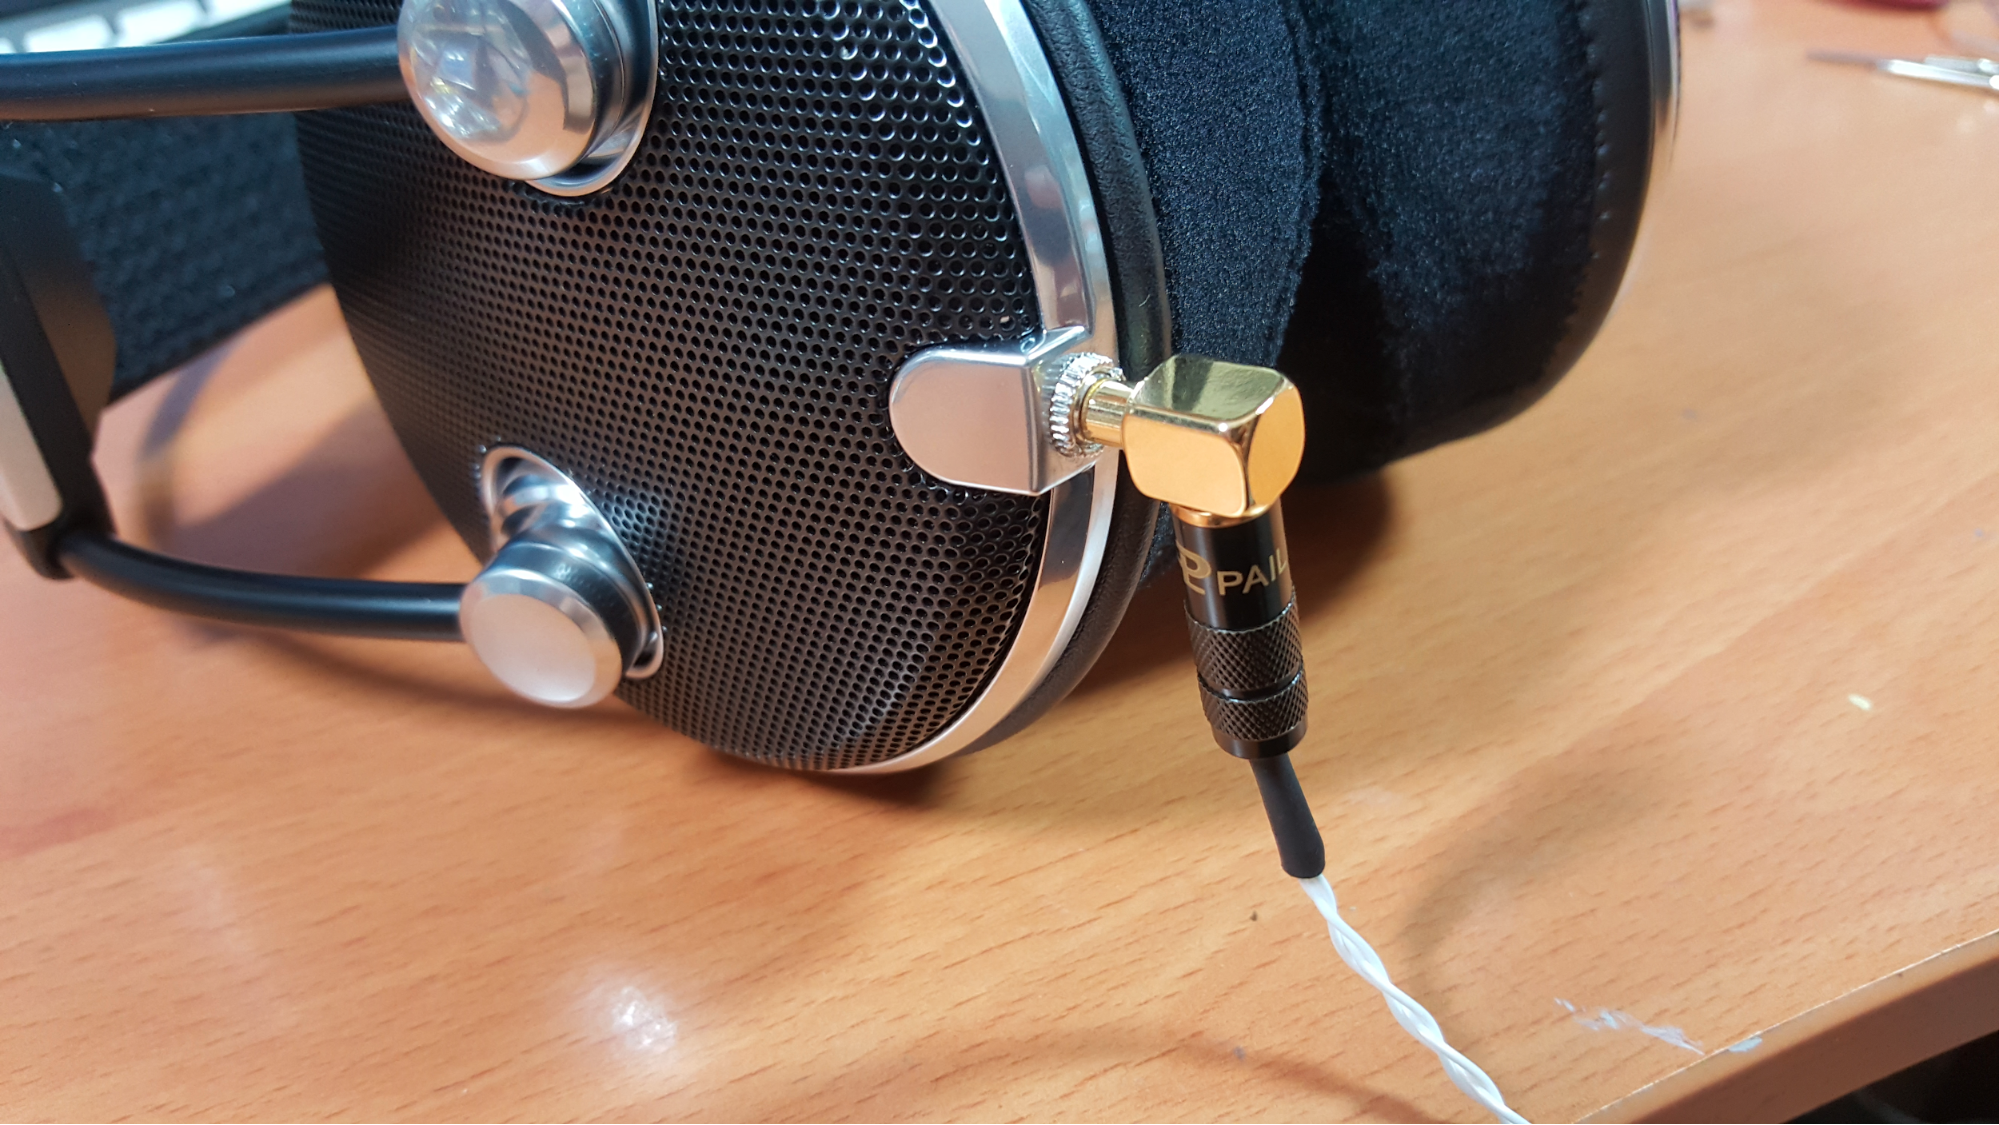
The socket fits perfectly in the hole, no need to enlarge or drill a new hole.

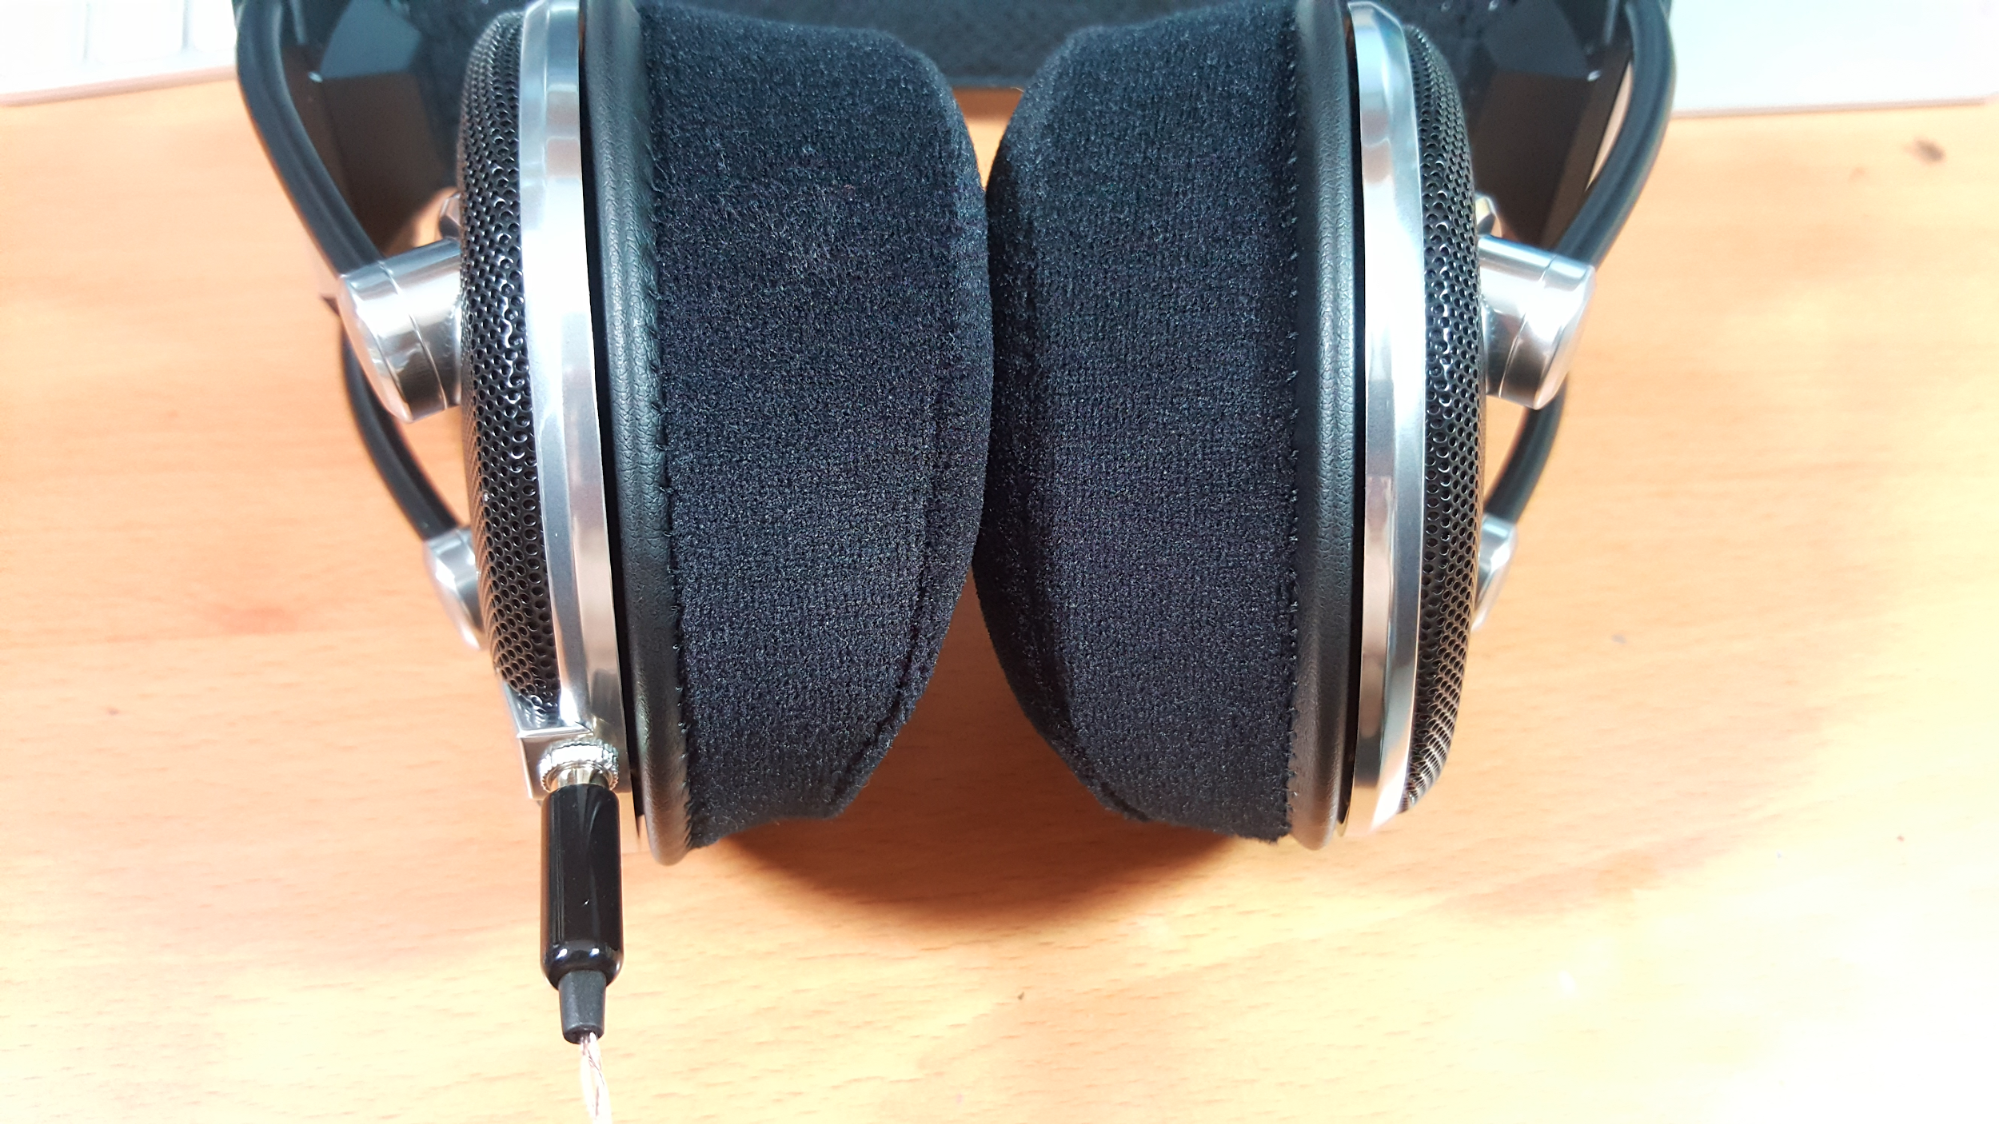
And the color matches the trimmings of the headphones. Swapped the earpads with some angled Brainwavz velor pads, and tested with my custom cables. Perfect!

Got rid of this mess!
It was an easy mod, total time taken around 30 minutes or less.
Happy modding!
Link to buy the 3.5mm socket (sorry, Chinese only):
https://world.taobao.com/item/45193374957.htm